
Inspection Essentials for Malibu Air Conditioning Systems
From the quiet calm of early June Gloom to the golden blaze of a September afternoon, Malibu asks a lot of its cooling systems. A thorough inspection routine keeps that comfort steady, especially when salt mist and canyon dust combine to challenge outdoor equipment. An effective walkthrough starts before tools ever come out. It begins with listening—to the hum of a well-tuned condenser, to the soft rush of supply air, and to what the homeowner has noticed on foggy mornings or during hot spells. Grounded in years of rooftop climbs and crawlspace checkups from Point Dume to Latigo, here is a practical guide to air conditioning inspection basics adapted to Malibu’s coastal realities.
Good inspection is part detective work, part routine. The goal is not just to catch what is broken, but to recognize patterns that predict issues. In Malibu, those patterns include corrosion on exposed connections, accelerated dirt accumulation on coils, and condensate challenges after swings from cool and damp to warm and dry in a single day. Building your checklist around these local signatures pays off all summer long.
Start with the Story the System Tells
An inspection begins the moment you arrive. Is the outdoor unit sitting level, or has the soil settled on a hillside pad? Are plantings creeping into the coil? Do you hear a smooth fan note, or is there a faint rattle that hints at loose panels or a slightly bent blade? Note the age and location of the condenser; a unit set back from direct salt exposure often weathers more gracefully than one perched on an ocean-facing deck.
Inside, a quick check for even supply temperatures across rooms reveals a lot about duct balance and filter load. In coastal homes, a stale odor or a faint tang of salt can point to filters that have started to shed debris into the coil. Ask about recent smoke events and whether the homeowner has noticed any gurgling from the drain—both clues that guide your focus later.
Filters and Return Air: The First Gatekeeper
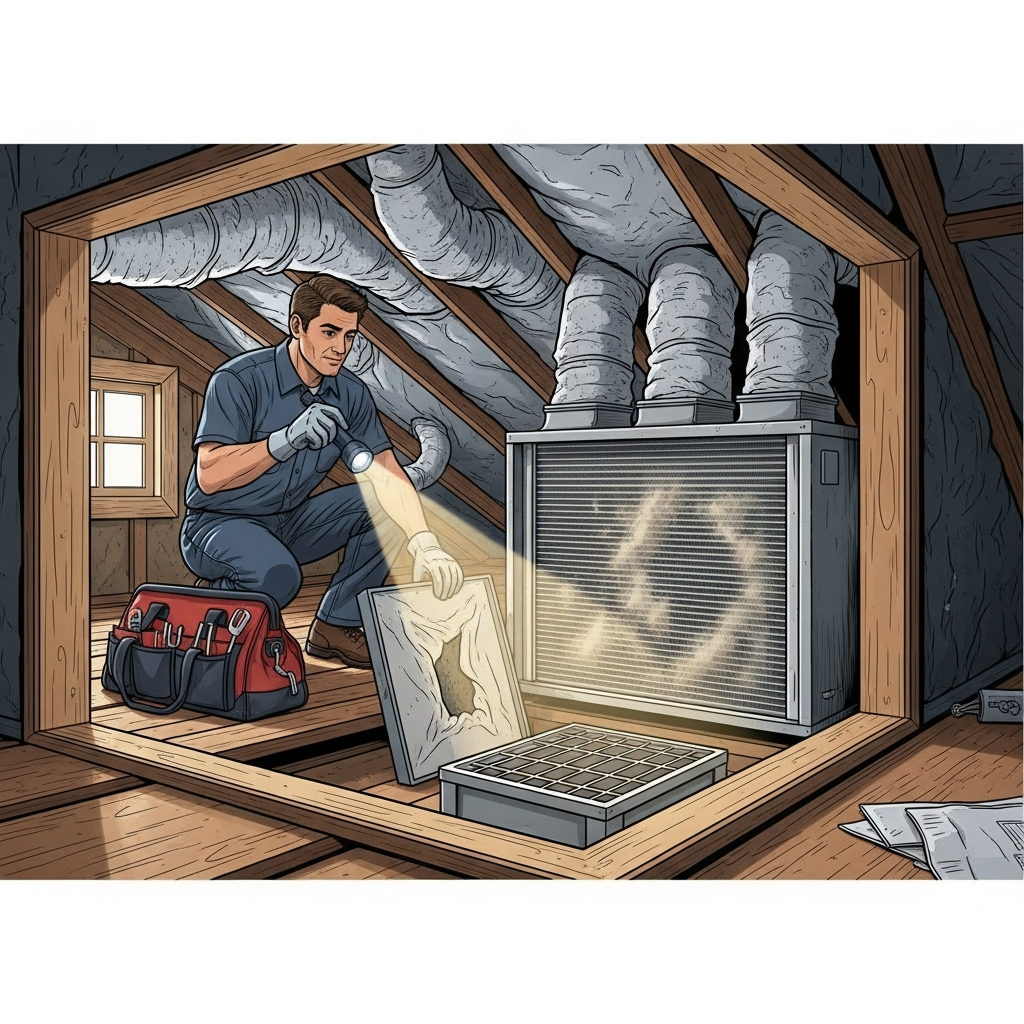
Pull the filter and inspect for load pattern. A uniformly gray filter usually points to regular capture, while streaks or clean edges might signal bypass where the rack does not seal properly. Malibu’s fine aerosols love those gaps. A saturated filter is not merely a comfort issue; it forces blowers to work harder, elevates energy use, and increases the risk of frost on the evaporator.
While the filter is out, look at the return cavity. Beach sand, pet hair from surf-loving dogs, and coastal pollen can settle in corners. Clean cavities and snug gaskets keep particulate out of the coil, which is the heart of reliable cooling.
Evaporator Coil and Blower Assembly
Next, examine the evaporator coil face and the blower wheel. Malibu’s alternating humid-dry cycle can knit fine dust to the coil in a thin mat that is deceptively hard to see. A light, musty odor on startup is a telltale. Inspect the blower wheel for sticky film; it robs capacity and increases noise, which carries easily on quiet canyon nights. Check that the blower motor spins freely and that the belt, if present, has proper tension.
Look for insulation integrity around the coil housing. Gaps allow condensation to form where it should not, which can drip into return cavities or create rust spots. On systems above living spaces, confirm the presence and condition of a secondary drain pan and float switch. In Malibu, that float switch saves more ceilings than homeowners realize.
Condensate Drain and Moisture Safeguards
Follow the condensate line from coil to termination. Verify downward slope the entire run, paying extra attention in hillside houses where framing can settle. Algae thrives here when foggy mornings turn into warm afternoons, so clear lines and traps are essential. Inspect the emergency drain line outlet; evidence of discharge there means the primary line has had issues.
Ensure that wet components are isolated from electrical elements. Salt-laden air increases conductivity, so small leaks or sweating can be more dangerous than in drier climates. Insulation on the suction line should be intact to prevent condensation drips along its length, which can stain ceilings or feed mold growth in concealed spaces.
Refrigerant Lines and Mechanical Integrity
Outside, inspect the refrigerant lines for abrasion, UV damage to insulation, and signs of oil at connections—oil marks are a classic hint of a slow leak. Malibu’s sun can cook line insulation quickly if it is not UV resistant, and that means heat gain and reduced efficiency. Check line supports; wind can flex lines against sharp edges, wearing through over time.
Examine service valves and caps. Corrosion is common within a stone’s throw of the beach. Protective caps should seat tightly, and any greenish bloom on copper deserves closer attention. While a full refrigerant diagnosis requires gauges and careful procedure, your eyes and nose often tell the first chapter of the story.
Condenser Coil, Fan, and Cabinet
Look closely at the condenser fins. Malibu’s salt binds dust into a stubborn film; running your hand gently near the coil will often reveal temperature that feels off if airflow is restricted. The fan should spin with a steady whoosh—no wobble, no scrape. A faint ticking sound can signal debris caught at the edge of the blade or a cable tie flirting with the grille.
Check cabinet fasteners and panel fit. Vibration from ocean breezes and the steady beat of daily cycles can loosen corners. A tight cabinet reduces noise and ensures that air passes through, not around, the coil. Confirm that vegetation remains well back; vines and decorative screens can quietly choke performance even as they hide the unit.
Electrical Components and Safety
Malibu’s coastal air is tough on contactors, capacitors, and terminals. Open the control panel and check for pitting on contactor faces, bulging capacitors, and any signs of heat discoloration. Salt crystals can form inside if the panel is not sealed; a soft brush and careful cleaning extend component life. Verify that conduit connections are watertight, especially if the unit sits where sprinklers or ocean mist can intrude.
At the service disconnect, confirm that lugs are tight and that there is no rust that could compromise a solid electrical path. Everywhere you look, think “clean, dry, and tight.” That trio is the antidote to Malibu’s mix of humidity and breeze-blown particulates.
Airflow and Temperature Checks
Quantifying airflow makes the rest of the inspection meaningful. Measure temperature differential between return and supply under stable operation. In most Malibu homes, a consistent split coupled with quiet airflow suggests coil and duct health. If the split is low and the blower is straining, suspect a dirty coil or leaky ducts baking in a hot attic.
Listen to the registers in each room. Uneven sound can indicate restricted runs or crushed flex in a tight joist space. In older beachfront homes where remodels have layered on changes, it is common to find one or two starved runs hidden above a hallway. Finding and fixing those bottlenecks can transform comfort with minimal disruption.
Ducts, Seams, and Insulation
Inspect duct insulation for UV damage where it passes near roof vents or skylight wells. Salt and sun take their toll quickly. Look for joints with dark streaks—evidence of leaks that pull dust in and push conditioned air out. In Malibu’s climate, even small leaks translate into long runtimes on warm afternoons.
Pay attention to return duct placement. Returns pulling air from spaces that warm quickly, like sunny stairwells, can fool thermostats and cause short cycles. A balanced return strategy smooths indoor temperatures and reduces on/off wear that Malibu’s mild-but-variable days can otherwise encourage.
Thermostat and Controls
Verify thermostat accuracy with a trusted reference. If your setpoint says 74 but the room reads 76, you will chase comfort all day. In ocean-adjacent homes, thermostats can be influenced by drafts from slider doors or shaded walls that lag behind ambient temperature. Placement matters; it tells the whole system which story to believe.
Check control wiring where it exits walls or equipment cabinets. Rodents in canyon neighborhoods are resourceful, and even a small nibble can intermittently interrupt signals, leading to ghost calls and puzzling short cycles. Tidying wiring and sealing penetrations reduces those surprises.
Documentation and Homeowner Conversation
An inspection earns its value when observations become a clear plan. Document filter condition, coil cleanliness, drain behavior, and any corrosion. Share what you found and why it matters in Malibu specifically—salt on contactors, humidity-driven algae in lines, wind-driven debris collecting in corners. Practical advice like rinsing the condenser with fresh water on calm mornings or checking the emergency drain outlet after a foggy spell gives homeowners confidence.
Encourage timing that fits local demand. Pre-season inspections beat the first heatwave crunch, and a mid-summer touchpoint for beach-adjacent homes keeps performance crisp when guests fill the house. This cadence is gentle on equipment and on schedules that weave around PCH traffic and school pickups.
Mid-Season Reminder for Coastal Systems
As you map out care for the months ahead, set a calendar note to revisit your air conditioning tune-up mid-season if your home sits within sight or sound of the surf. That extra attention in Malibu’s salt-kissed belt is not overkill; it is how you keep coils breathing freely and contactors clicking cleanly through the hottest afternoons.
Frequently Asked Questions
Q: How often should I inspect my AC in Malibu?
A: Plan for a full inspection before peak summer and a lighter mid-season check if you are near the beach. Homes further inland or tucked into canyons can often do well with a thorough annual visit plus attentive filter checks.
Q: What Malibu-specific issues should I look for first?
A: Corrosion on electrical parts, salt film on condenser fins, algae-prone condensate lines, and UV-damaged line insulation are the most common coastal findings.
Q: Do I need special filters because of the marine layer?
A: Not necessarily special, but quality and fit matter. Choose filters that balance particle capture with low resistance and make sure they seal tightly in the rack to avoid bypass.
Q: My condenser is on a deck facing the ocean—any tips?
A: Maintain generous airflow clearance, rinse with fresh water regularly, and consider cabinet and coil protections suited for marine exposure. Keep beach gear and furniture well away from the coil.
Q: Why does my system short cycle on mild days?
A: Thermostat placement, oversizing, or duct imbalances can cause short cycles when outdoor temps hover near setpoint. A careful inspection of airflow and controls usually reveals the culprit.
Next Steps for Reliable Comfort
A clean, methodical inspection is your best ally against surprise breakdowns in the middle of a Malibu heat spike. If it has been a while since yours, schedule time with local air conditioning specialists who know our salt, sun, and canyon winds. With a clear baseline, you will glide through the season in quiet, even comfort.