On a breezy Malibu afternoon, it is easy to forget that one of the hardest working appliances in the house lives in a closet or garage, quietly tumbling towels still salted from a morning at the beach. Your dryer gets the spotlight only when laundry backs up or a cycle runs twice as long as it used to. Yet behind that familiar hum is a duct that must move warm, moist air and lint safely outdoors, and in coastal homes, that pathway deserves more attention than it usually gets. If your dryer takes longer to finish loads, the laundry room feels too warm, or you catch a whiff of damp fabric even after a full cycle, your dryer duct may be signaling that it needs a reset. Many Malibu homeowners begin by learning about best practices in duct replacement to understand how safer, better-ventilated laundry happens.
Dryer duct replacement is not about appearances. It is about safety, moisture control, and performance. Lint is naturally produced by fabric friction, and while your dryer’s filter catches a portion of it, plenty escapes into the duct. Over time, that lint clings to rough interior surfaces, snags in crushed flex runs, and accumulates behind elbows. When that buildup meets heat, the risk is obvious. In coastal Malibu, where foggy mornings and cool evenings can keep ducts slightly damp, lint can mat and harden into stubborn obstructions that cleaning can only partially remove. Replacement becomes the smarter, safer path—one that restores strong airflow, reduces cycle times, and lowers the heat stress on the machine itself.
How Coastal Air Affects Dryer Venting
The same marine layer that softens a Malibu sunrise also nudges laundry systems in subtle ways. Moist air moving through a long or poorly insulated duct can cool rapidly, encouraging condensation. That moisture is a perfect adhesive for lint, especially if the duct wall is ribbed or dented. Salt crystals carried on sea breezes can also settle on exterior terminations, corroding dampers or screens and causing them to stick. When termination hardware fails to open fully, it strangles airflow and forces the dryer to push harder, extending cycle times and wasting energy.
Homes close to the water sometimes use roof terminations to avoid wind-driven backdrafts. Others vent through side walls where placement relative to prevailing winds makes a difference. A thoughtful replacement considers these site specifics: the shortest practical route, the fewest elbows, smooth interior surfaces, and a termination that opens freely while blocking pests and weather. In many Malibu homes, that path can be simplified compared to the original builder’s solution, offering an immediate performance lift.
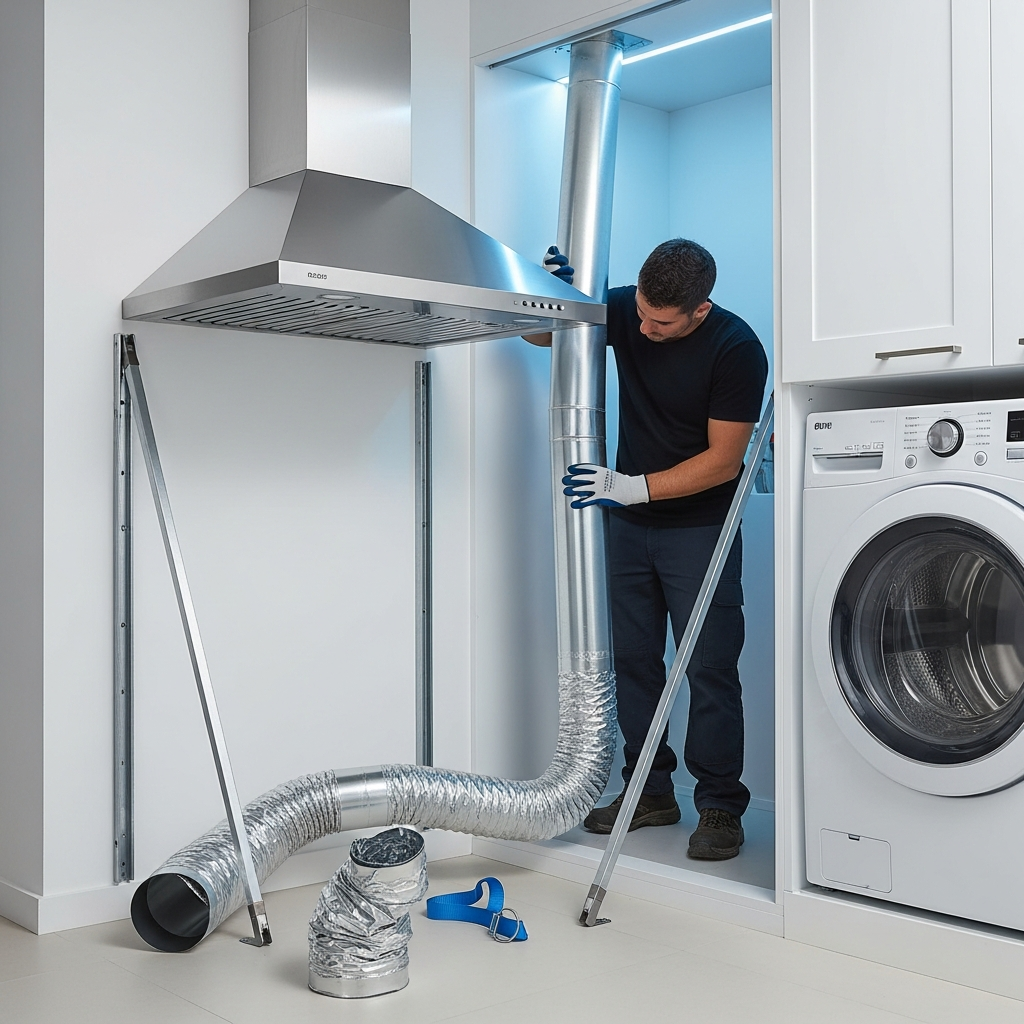
Materials and Routing That Make Laundry Safer
The backbone of a safer system is smooth-wall metal ducting, not plastic or foil flex that crushes easily and traps lint. Where short transitions are necessary, a high-quality, semi-rigid connector can bridge the last foot or two from the dryer to the wall without kinking. Long runs should be supported at proper intervals to prevent sags that collect lint. Each elbow counts; gentle, wide-radius turns beat tight bends every time. A properly sized termination with a backdraft damper completes the route, allowing moist air and lint to escape freely while preventing wind or critters from coming back in.
In coastal settings, exterior components deserve extra care. Powder-coated or stainless termination hoods resist corrosion and keep dampers moving smoothly. If the duct runs through an unconditioned attic, insulating the run can reduce condensation, especially on cool mornings when a warm batch of laundry meets a cold duct wall. The result is a system that breathes easily, cycle after cycle, without silently collecting the very material most likely to cause trouble.
Recognizing the Signs It’s Time to Replace
Most homeowners arrive at replacement after a string of clues. Cycles creep longer; towels that used to finish in 45 minutes now need an extra 20 or more. The laundry room or nearby hallway grows warmer than it should during operation. You might notice a musty odor or see lint accumulating around the dryer outlet. A quick look behind the machine may reveal a crushed or sharply bent connector. In attics or crawlspaces, ducts may have come loose from supports, sagged into dips, or disconnected at elbows. If your home has seen a few decades of service, the original materials might simply be past their useful life.
Cleaning helps, but it is not a cure-all. A heavily ridged or damaged duct will start collecting lint again soon after a cleaning. Replacement is your opportunity to reset the system, choose better materials, and simplify the route so airflow becomes your ally again. In many Malibu homes, modest design corrections deliver outsized improvements.
The Replacement Experience, Step by Step
Replacement starts with a clear plan. A professional will measure the route, document existing conditions, and propose a layout that prioritizes safety and airflow. Floors and hallways get protected, and the dryer is moved carefully to access the connection. Old duct sections are removed methodically to avoid showering the space with lint. New metal sections are cut and joined with screws, then sealed where appropriate. Supports go in at consistent intervals to prevent dips. If the route passes through an attic, insulation is added if beneficial, and the exterior termination is replaced or serviced so it opens freely every time.
Midway through, airflow is checked. An anemometer at the termination or a pressure reading tells the installer whether the system is breathing as intended. This is an excellent moment to revisit your goals—quicker cycles, cooler laundry spaces, and peace of mind—and confirm the design is delivering. It is also a natural point to reflect on what you learned when you first looked into duct replacement and confirm that the work unfolding matches the safest practices you value for your home.
Safety, Noise, and Everyday Convenience
A well-built dryer duct changes more than the length of a cycle. Noise that once seemed part of the routine—rattles at the termination or a rhythmic drumming in the wall—often disappears because air is flowing smoothly rather than colliding with obstructions. The laundry room runs cooler, cutting down on that unpleasant heat that used to linger as you folded clothes. Most importantly, you remove a major fire hazard. Lint cannot accumulate quickly in a smooth, properly supported duct with strong, consistent airflow.
Convenience improves too. If you have ever had to run the same load twice to fully dry jeans or bedding, good airflow ends that wasteful ritual. Families with busy schedules appreciate the predictability of cycles that finish on time. For homes where the laundry area is near a bedroom or office, a quieter, better-vented system keeps household rhythms gentler throughout the day.
Permits, Standards, and Good Habits
Depending on scope, local requirements may apply to dryer duct work, especially when routes change or exterior terminations are modified. Professionals who work in Malibu regularly will align the project with applicable codes, including maximum equivalent lengths, proper termination types, and materials that meet safety standards. While the paperwork may feel secondary, it supports a system that behaves predictably and safely over the long term.
After replacement, a few simple habits keep performance high. Clean the lint filter before every cycle. Every few months, check that the exterior damper opens freely and that no lint is collecting around the termination. If you notice cycles drifting longer again, it is a clue that a connector may have been bumped or a support has loosened. A quick look now and then is a small price for smoother laundry days.
Special Malibu Considerations
Coastal wind can create backdrafts in certain locations, so orientation and termination style matter. If your home is perched to catch prevailing breezes, a hood that shields the damper from direct wind may help. Homes close to the beach see more salt exposure; corrosion-resistant materials will keep moving parts working. If the duct must route through tight spaces, thoughtful use of elbows and supports will maintain smooth interior surfaces and avoid pinch points. In townhomes or hillside properties where laundry shares space with gas appliances, ensuring proper clearances and combustion air is especially important.
For homes with long-established laundry closets, sometimes the smartest move is to reconfigure the last few feet. Moving the dryer a few inches, switching to a recessed connection box, or changing the wall penetration angle can transform a tortured connector into a short, straight shot that behaves much better. These small corrections, repeated through the route, create a cascade of improvements you will feel every laundry day.
FAQs: Dryer Duct Replacement and Safety
Q: How do I know if my dryer duct is the problem? A: Telltale signs include longer cycles, a warmer laundry room, visible lint around the outlet, or a crushed connector behind the machine. An inspection can confirm whether the route or materials are to blame.
Q: Is cleaning enough, or do I need replacement? A: Cleaning helps, but if the duct is damaged, overly long, or made of crush-prone materials, replacement is the safer, more durable solution.
Q: What materials are best? A: Smooth-wall metal ducts for main runs, with a short, semi-rigid transition to the dryer if needed. Exterior terminations should be corrosion-resistant with a free-moving backdraft damper.
Q: Will a new duct reduce fire risk? A: Yes. By eliminating lint traps in the route and improving airflow, replacement significantly reduces one of the most common household fire hazards.
Q: How disruptive is the work? A: Most projects wrap up in a day. Crews protect the area, manage lint, and leave the laundry space tidy and ready for use.
Q: Do I need a permit? A: Requirements vary by scope and locality, but professionals familiar with Malibu will guide you through any needed approvals and ensure standards are met.
Q: How can I keep performance high after replacement? A: Clean the lint filter every cycle, inspect the exterior termination periodically, and avoid pushing the dryer back so far that it crushes the connector.
Q: Will this make the laundry room cooler and quieter? A: In most cases, yes. Smoother airflow removes heat more effectively and cuts down on turbulence-related noise.
Make Laundry Safer and Simpler
If your dryer has been working overtime, now is the moment to give it the clear, safe path it needs. A well-designed duct shortens cycles, cools the laundry space, and dramatically reduces risk—benefits you feel every week. When you are ready to plan the upgrade, explore duct replacement with a team that understands Malibu’s coastal dynamics and treats safety, cleanliness, and convenience as non-negotiables.