Dryer Duct Replacement in Malibu: Safety, Performance, and What Shapes the Work
In Malibu, dryer duct replacement is about more than helping clothes dry faster. It’s a safety upgrade that protects against lint accumulation and improves how your laundry space feels and functions. Ocean air, hillside winds, and the way many of our homes were expanded over time can make laundry rooms a study in improvisation—long chases, tight corners, and tricky exterior terminations. When the ducts that carry warm, moist air outside aren’t routed with care, dryers run longer, moisture lingers, and lint finds every ledge along the way. If you’re considering a refresh, step back from one-size-fits-all advice and focus on a plan suited to your home. Often, this discussion coincides with broader duct replacement goals that bring the whole house’s airflow into balance.
Unlike HVAC supply and return ducts, dryer ducts handle high moisture and lint, so the materials and terminations must be chosen carefully. Smooth, rigid interior surfaces discourage lint from grabbing hold, and properly sealed joints help preserve airflow from the appliance to the exterior. Over time, small compromises—an extra elbow here, a sagging section there—rob the dryer of efficiency and quietly raise the risk of blockage. Malibu’s coastal damp can compound the problem by encouraging lint to cling where it might otherwise have moved along.
Why Malibu Homes Pose Unique Dryer Duct Challenges
Many local homes were remodeled to capture views or add space, and the laundry room sometimes ended up far from an exterior wall. That often means longer runs with more bends, routed through attics, crawlspaces, or concealed chases that were never originally designed for venting. On hillside lots, exterior wall terminations can be high off the ground or difficult to reach, and roofs with significant pitch complicate rooftop terminations. Add salt air that nudges metal wear and windy days that press on exterior hoods, and you’ve got a dynamic environment that rewards solid design.
Access is another recurring theme. Replacements may require moving the dryer temporarily, creating new wall or ceiling openings to correct routing, and coordinating safe roof or wall access for the exterior termination. A well-sequenced plan minimizes disruption, keeps dust in check, and leaves the space looking like the work never happened—except for better drying times and a safer system.
Design Considerations That Matter
The path from dryer to daylight should be short and straight where possible, with gentle transitions that preserve velocity and avoid turbulence pockets where lint loves to settle. Smooth metal interiors resist buildup and are easier to service periodically. At the exterior, the termination hood should open freely, resist corrosion, and include a backdraft damper to discourage wind from pushing air back into the duct.
In a replacement, each elbow and joint is an opportunity to do better. Collars should be mechanically fastened and sealed to reduce air loss that slows exhaust. Where the route demands a change of direction, broad sweeps help keep lint moving. Within the laundry room, a short, crush-resistant connection between dryer and wall maintains shape even when the appliance is slid gently back into place.
Moisture, Lint, and Indoor Air Quality
Aside from drying performance, the duct’s job is to remove moisture effectively. If the route leaks or is too long and convoluted, warm, damp air lingers in the home, pushing humidity up. In Malibu’s coastal climate, that can make laundry rooms feel muggy and invite musty odors. A proper replacement reclaims that moisture load and sends it outdoors, reducing the burden on the rest of the home’s ventilation and making the space more pleasant to use.
Lint is the long-term safety concern. It’s surprisingly tenacious when the path slows it down. That’s why inspection ports or well-located joints that can be opened by a technician are useful—serviceability is part of safe design. During replacement, think about how future maintenance will be performed and set your system up for simple, infrequent, effective checks.
Permits, Codes, and Good Sense
Dryer duct work is governed by mechanical codes that speak to materials, routing, and terminations. Local experience helps ensure that your replacement stays aligned with those standards while respecting the home’s architecture. For Malibu homeowners, that may include attention to rooftop flashing details, corrosion-resistant components, and weather exposure at ocean-facing walls. A conscientious installer will coordinate required permits and inspections, sequence the job to minimize downtime, and confirm the final airflow meets expectations with the dryer running.
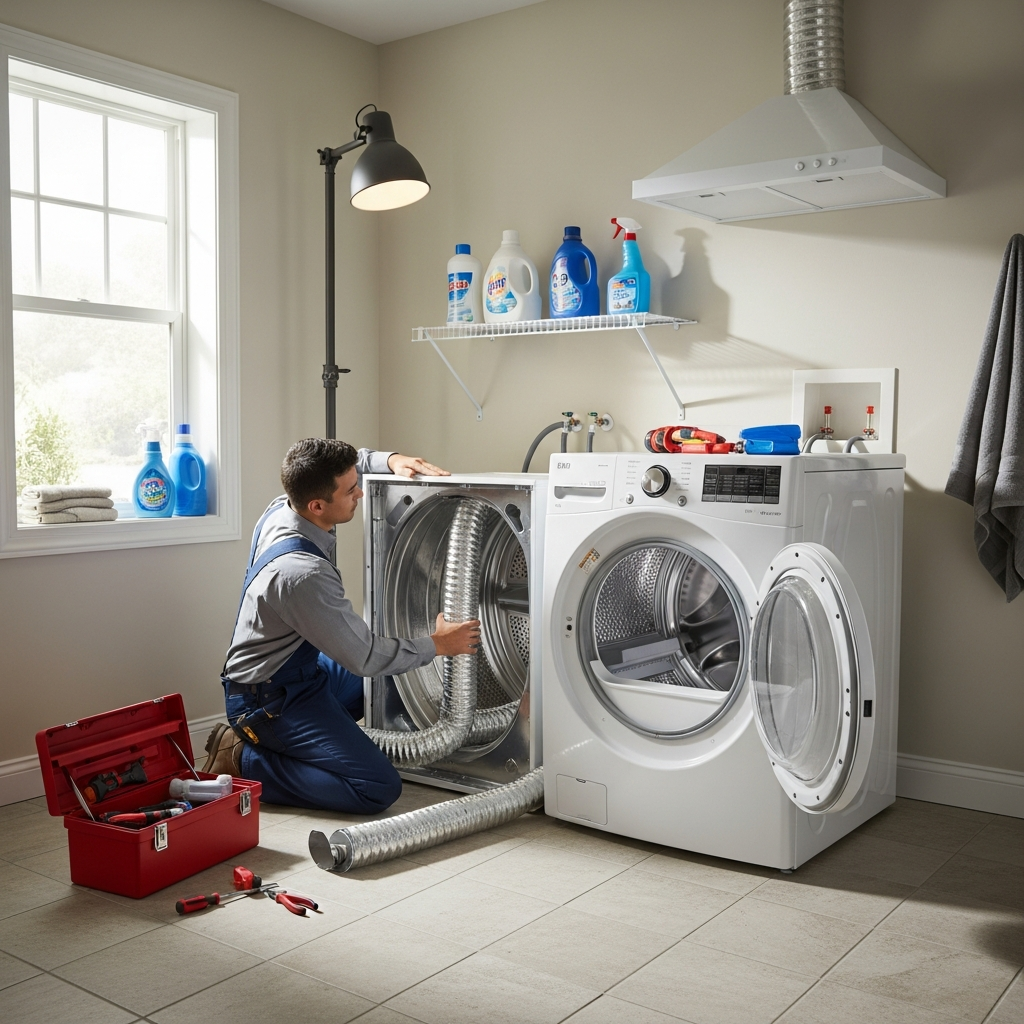
What to Expect During a Replacement
Most projects begin with a clear look at existing conditions: where the duct travels, how many bends it includes, and where it exits. Crews lay floor protection, move the dryer carefully, and plan any small access openings that allow them to straighten the route or replace damaged sections fully. As new ducts go in, joints are aligned, fastened, and sealed, and supports keep the path true so it won’t sag over time. Outside, the termination hood is replaced or refreshed, and the flap or damper is checked to ensure it opens freely and closes when the dryer stops.
Once assembled, a test run shows whether the airflow is brisk and unobstructed. The difference is often immediate: clothes dry more evenly, cycles shorten, and the room feels less humid. Just as importantly, the route is cleaner and more durable, so maintenance becomes simpler and less frequent.
Integrating Dryer Duct Work into Whole-Home Air Planning
While the dryer is a single appliance, its vent path shares space with the home’s other hidden systems. When you’re already considering improvements elsewhere—sealing attic penetrations, improving HVAC returns, or upgrading insulation—it makes sense to coordinate. That way, you avoid conflicts in chases, ensure proper clearances, and create a tidy, documented record of changes for the future. Many homeowners time a dryer duct replacement alongside a broader HVAC duct replacement so the entire distribution picture gets better together.
Maintenance: Small Habits, Big Payoff
After a replacement, maintenance becomes straightforward. Keep the area behind the dryer clear so flexible connections don’t kink. Periodically check the exterior hood to ensure the damper moves freely and isn’t blocked by debris. Inside the laundry room, listen for changes in sound—if airflow is restricted, you’ll often hear the dryer working harder, which is your cue to schedule a quick inspection.
FAQs: Malibu Dryer Duct Questions Answered
How do I know my dryer duct needs replacement?
Longer dry times, a laundry room that feels overly warm or humid, visible kinks or crushed connections behind the dryer, and lint buildup around the exterior hood are common clues. An inspection can confirm whether cleaning, rerouting, or full replacement is the right remedy.
Can I vent a dryer to the attic or crawlspace?
No—dryer exhaust should terminate outdoors. Venting into attics or crawlspaces adds moisture and lint to places that can’t handle it, inviting mold and other issues. A proper exterior termination is part of a safe, code-aligned installation.
What materials are best for dryer ducts?
Smooth-walled metal promotes airflow and discourages lint accumulation. Interior foil flex, especially when crushed or kinked, slows exhaust and becomes a cleaning headache. In most Malibu installations, rigid metal for the long run with a short, crush-resistant connection at the appliance is a reliable formula.
Do I need permits for dryer duct work?
Often, yes. Local requirements vary by scope, but a licensed professional will coordinate permits and inspections when needed and ensure the installation meets applicable standards.
How often should dryer ducts be checked?
A quick visual check of the exterior hood every few months is wise, and a periodic professional look keeps the route clear. If drying performance changes suddenly, don’t wait—have it assessed.
Ready for Safer, Smoother Drying
If you’re ready to reclaim drying performance and peace of mind, start with a clear look at the path from dryer to daylight and a design that respects Malibu’s coastal realities. The right plan restores airflow, sheds moisture quickly, and sets you up for easy maintenance. When it’s time to act, line up a visit and map the simplest route to better results with a focused duct replacement that treats safety and performance as a single goal.