Malibu’s combination of ocean mist, salt air, and hillside winds makes a thorough AC inspection process essential. A well-structured inspection protects your comfort during the hottest afternoons, improves indoor air quality, and helps equipment withstand coastal conditions. Whether you’re evaluating your system yourself between service visits or preparing for a professional tune-up, this guide explains each stage of a comprehensive inspection process that fits Malibu homes. If you prefer a clear checklist to follow as you go, the overview at keyword pairs naturally with the steps below.
Stage 1: Pre-Inspection Preparation
Start with safety and setup. Confirm the thermostat is accessible, gather basic tools (flashlight, soft brush, hose with gentle spray), and clear the area around the outdoor unit. If you plan to rinse the condenser coil, shut off power at the disconnect. Keep a notepad or digital log to record findings.
Stage 2: Thermostat and Controls Review
The thermostat directs the entire system. Many comfort complaints begin with simple control issues.
- Mode and setpoint: Verify cooling mode is selected and the setpoint makes sense for current conditions.
- Schedule check: Adjust schedules for seasonal changes in Malibu’s climate—cool mornings, warm afternoons, and occasional heat waves.
- Battery and sensor health: Replace batteries and confirm the thermostat isn’t in direct sun or near heat sources that skew readings.
Stage 3: Indoor Air Handler Inspection
The air handler is the heart of airflow. Focus on cleanliness, drainage, and vibration.
- Filter condition: Replace dirty filters. Document date and type so you can track performance across smoke or dust events.
- Blower housing: Look for dust accumulation on the blower wheel and housing. Excess buildup reduces airflow and can cause noise.
- Condensate system: Inspect the pan and drain line for algae, clogs, or improper slope. Ensure any float switches function and wiring is secure.
- Electrical connections: Without removing complex panels, check for obvious corrosion or loose screws. Leave deeper electrical work to a professional.
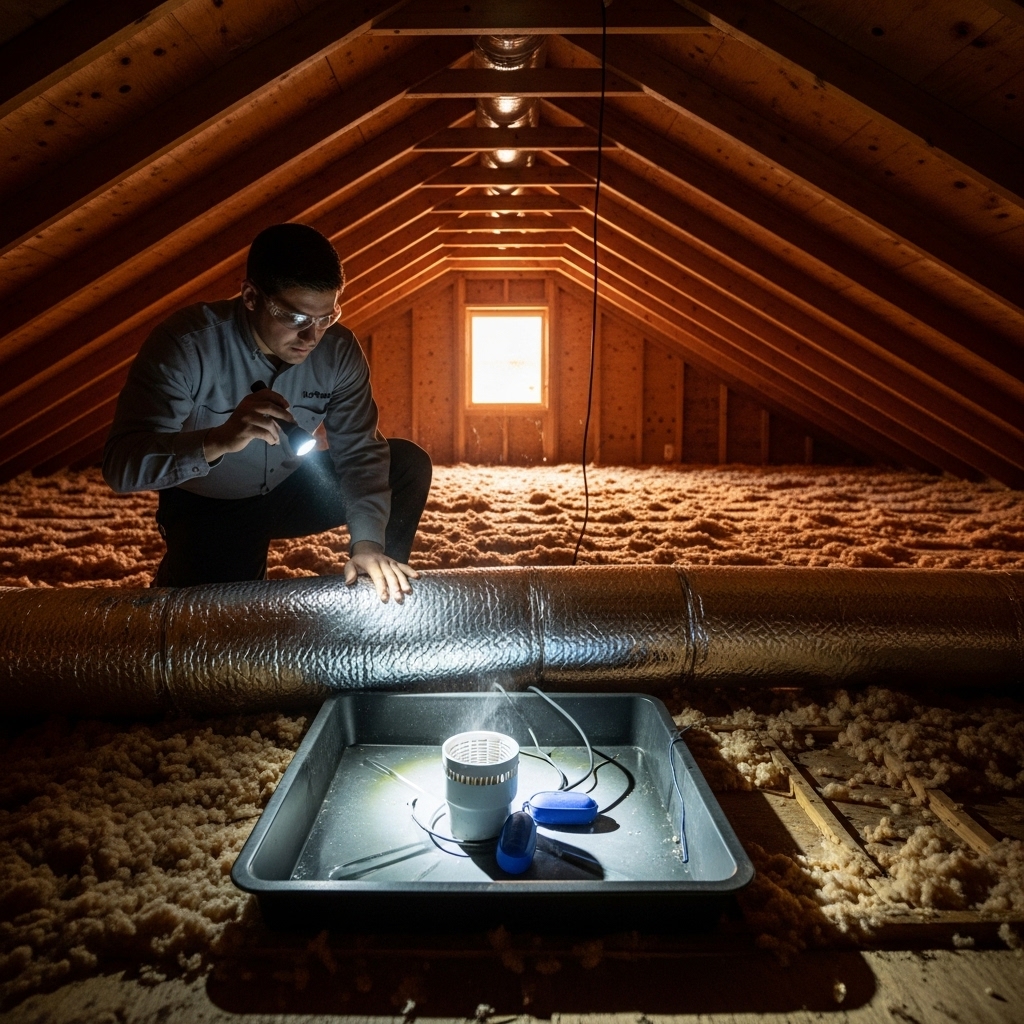
Stage 4: Ductwork and Registers
Efficient cooling depends on tight, well-routed ducts. Malibu’s attics can be hot and dusty, which amplifies small duct problems.
- Visual inspection: Look for disconnected joints, crushed flex duct, and insulation gaps. Pay special attention to areas near attic access and recent renovations.
- Register condition: Clean supply and return grilles; ensure they’re open and unobstructed by furniture or curtains.
- Air balance clues: Note rooms with persistent temperature differences, which may indicate duct sizing or balancing needs.
Stage 5: Outdoor Condenser Inspection
Coastal exposure places a premium on condenser care. Gentle, regular attention preserves performance.
- Clearance: Maintain at least a two-foot clearance around the unit. Trim vegetation and move stored items away.
- Coil cleanliness: With power off, rinse the coil using low-pressure water to remove salt, dust, and grime. Avoid bending fins.
- Fan and grille: Check for cracked blades, loose screws, and nesting debris under the top shroud.
- Cabinet condition: Look for rust, peeling paint, or corrosion on fasteners. Early treatment prevents spreading.
- Level mounting: Confirm the pad is level and stable. Shifting soils or root growth can tilt the unit and stress refrigerant lines.
Stage 6: Refrigerant Lines and Insulation
Heat transfer relies on intact, well-insulated lines. Malibu’s sun and sea air can degrade insulation faster than expected.
- Insulation integrity: Replace cracked or missing insulation on the suction line to minimize energy loss and condensation.
- Line vibration: Ensure lines are supported and not rubbing against surfaces that could cause wear.
- Visible oil stains: Oil may indicate a refrigerant leak; call a professional for confirmation and repair.
Stage 7: System Start-Up and Performance Checks
After visual inspections and cleaning, restore power and run the system to evaluate operation.
- Startup sequence: The blower and condenser should start smoothly without loud clanks or grinding.
- Air temperature: Measure supply and return air temperatures to gauge cooling performance. Large deviations from normal operation suggest airflow or refrigerant issues.
- Humidity feel: Pay attention to indoor humidity. Sticky air can indicate poor dehumidification or oversized equipment.
Stage 8: Maintenance Interval Planning
Inspection findings inform how often you perform tasks. Coastal conditions and smoke events can shift schedules.
- Filter frequency: If filters clog quickly during windy months, move to monthly checks and keep spares ready.
- Coil rinsing: Plan gentle rinses quarterly or after heavy wind events to remove salt deposits.
- Drain cleaning: If your drain clogs frequently, schedule preventive treatment and more frequent inspections.
Stage 9: Documentation and Photos
A quick photo of the coil, blower, or drain before and after cleaning creates a helpful maintenance record. Jot down part numbers from filters and note dates for tasks. Over time, you’ll spot patterns like which months cause the most dust or when smoke seasons begin to affect your home.
Stage 10: Professional Evaluation and Tune-Up
Even if you handle routine tasks, a yearly professional tune-up adds measurements and deep cleaning that homeowners typically skip.
- Electrical testing: Technicians check capacitors, contactors, relays, and motor amperage for early failure signs.
- Refrigerant analysis: Subcool and superheat measurements confirm proper charge and system health.
- Evaporator coil service: If needed, a professional can clean the indoor coil safely to restore heat transfer.
- Duct assessment: Pros may test static pressure and offer balancing or sealing recommendations for stubborn hot rooms.
Mid-Season Checkpoint for Malibu Homes
Halfway through the cooling season, reset your baseline: change the filter, rinse the outdoor coil, and confirm the condensate drain flows freely. Review thermostat schedules to match longer days and variable marine layer mornings. For an at-a-glance refresher that keeps you on track, refer to keyword and update your maintenance log accordingly.
Frequently Asked Questions
How long does a thorough inspection take? A careful homeowner walkthrough can take one to two hours, depending on access and cleaning. Professional tune-ups vary based on system complexity and findings.
What if I see rust on the condenser? Light surface rust can be cleaned and treated. Significant corrosion or pitting warrants a professional evaluation to prevent further damage.
Do attic ducts need frequent checks? Yes. Malibu’s attics can be warm and dusty, which amplifies small leaks and can degrade flex duct over time. Seasonal visual checks help catch issues early.
Why is my condensate drain always clogging? Warm, humid air and dust support algae growth. Preventive treatments and proper slope dramatically reduce repeat clogs.
Is it okay to shade the outdoor unit? Shading can help as long as airflow isn’t restricted. Keep shrubs trimmed and avoid covers that trap moisture.
When should I call a professional? If you notice icing, repeated breaker trips, strong electrical odors, or persistent water leaks, stop DIY work and schedule service immediately.
Confidence Through a Repeatable Process
An organized inspection routine empowers Malibu homeowners to maintain reliable comfort and healthier indoor air despite coastal challenges. Keep tasks simple, document findings, and adjust intervals based on experience and weather. With a clear process and timely professional support, your system will be ready for heat waves, foggy mornings, and everything in between.
Keep Your System Ready for Every Malibu Day
If you’d like a concise reference to pair with your inspection routine, explore keyword and adapt the steps to your home’s unique location—beachfront, canyon, or hillside. The right process, repeated consistently, preserves comfort and peace of mind all season long.