Understanding the air conditioning installation process helps Malibu homeowners set expectations, make confident decisions, and ensure a smooth path from consultation to cool, comfortable living. The coastal environment, microclimates, and California energy codes make the process slightly more involved than simply placing equipment and flipping a switch. This walkthrough explains each phase in clear terms, so you’ll know what happens, when it happens, and why it matters. If you are starting research on air conditioning installation, use this guide as a step-by-step companion.
Every home is unique—beachfront bungalows face salt-laden winds, hillside residences deal with elevation and access, and canyon homes experience broader temperature swings. Your installation team should adapt the process to your site conditions, schedule, and comfort priorities. While details can vary, the framework below covers the typical milestones and quality checks that lead to dependable performance.
Step 1: Discovery Call and Initial Visit
The process begins with a conversation to understand your goals, rooms of concern, and any noise or aesthetic limits. During the initial visit, a technician inspects your current system (if any), measures living spaces, notes window orientation and shading, evaluates attic or crawlspace access, and checks the electrical panel. Photographs and measurements capture details for load calculations and duct design. You should discuss smart controls, filtration, and whether zoning makes sense for your layout.
Step 2: Load Calculation and Preliminary Design
Accurate sizing is crucial. A Manual J or equivalent calculation determines heat gains and losses for your specific home. The designer then drafts a preliminary system: equipment type (central split, ductless, or heat pump), capacity, air handler placement, and duct layout. If your home has existing ductwork, a duct leakage test and visual inspection help uncover opportunities to seal, resize, or reroute runs. This step helps avoid short cycling, poor humidity control, and noise issues.
Step 3: Proposal and Scope of Work
A detailed proposal outlines equipment, efficiency ratings, accessories (such as high-MERV filters or UV treatment), control strategy, and installation tasks. It should also describe condenser placement, vibration control, condensate routing, and any electrical adjustments. Ask for a clear explanation of what is included, what is excluded, and the expected duration of the work. The scope should reference code requirements and any third-party testing needed.
Step 4: Permitting and Scheduling
California Title 24 and Malibu building regulations require permits and may require HERS testing for duct leakage, airflow, and refrigerant charge. Your contractor typically handles permit applications and coordinates inspection dates. Once permits are pulled, equipment is ordered, materials are staged, and a schedule is set. You’ll receive preparation instructions, such as clearing access areas, securing pets, and identifying parking or staging locations for the crew.
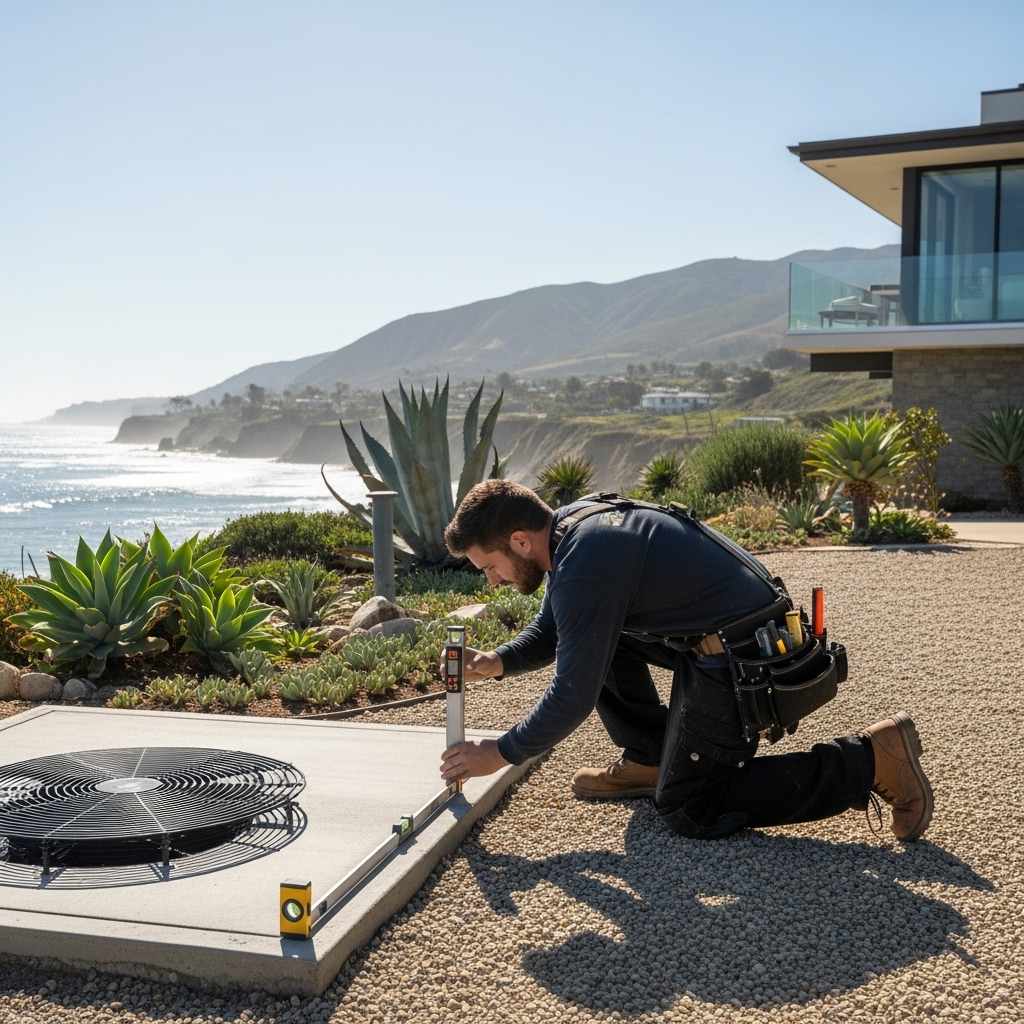
Step 5: Site Preparation and Protection
On installation day, the team protects floors and furnishings, sets up dust containment as needed, and reviews the plan with you. For outdoor work, they mark the condenser location, confirm clearances, and prepare a level pad or mounting frame. If removing old equipment, the team safely recovers refrigerant, disconnects power, and handles disposal responsibly. Site safety, cleanliness, and communication are priorities throughout.
Step 6: Ductwork and Air Distribution
Whether installing new ducts or improving existing ones, the crew focuses on smooth airflow. They use properly sized trunks and branches, gentle-radius fittings, and sealed joints with mastic. In unconditioned spaces, ducts are insulated to code requirements. Return grilles are located for balanced pressure and easy filter access. If zoning is part of the plan, motorized dampers and a central control panel are installed and tested for proper operation.
Step 7: Equipment Placement and Line Sets
The indoor air handler or coil is set in place, ensuring level installation, adequate service clearance, and proper condensate drainage. Outdoors, the condenser is positioned for airflow and noise control, with anti-vibration pads and corrosion-resistant fasteners. Refrigerant lines are routed neatly with UV-resistant insulation and sealed wall penetrations. Lines are pressure-tested with nitrogen to verify leak-free connections before evacuation.
Step 8: Electrical and Controls
Electrical work includes installing a disconnect at the condenser, verifying breaker sizing, and connecting control wiring. Thermostat placement is chosen for accurate temperature sensing, away from direct sun or supply vents. If smart controls are used, the installer sets up Wi‑Fi and guides you through app pairing and basic customization. Safety devices such as condensate float switches are wired to shut down the system if a blockage occurs.
Step 9: Evacuation, Charging, and Start-Up
Before refrigerant release, the system is evacuated to remove air and moisture from the lines. The technician confirms appropriate micron levels and holds a vacuum test to ensure tightness. Following manufacturer specifications, the system is charged and started. Initial checks include verifying correct airflow, superheat/subcooling, temperature split, and quiet operation. The crew listens for abnormal sounds and confirms proper condenser fan and compressor sequencing.
Step 10: Commissioning and Documentation
Commissioning is a structured verification of performance. The installer measures static pressure, records motor speeds, confirms thermostat settings, calibrates sensors if necessary, and documents refrigerant readings at stable operating conditions. For zoning systems, they test each zone’s behavior and balance airflow. A good installer provides you with a summary of readings, filter sizes, and maintenance steps, plus model and serial numbers for your records.
Step 11: HERS Testing and Inspection
When required, a certified HERS rater performs duct leakage, airflow, and refrigerant charge tests to validate energy code compliance. The Malibu inspector reviews the installation for code and safety. Passing these steps protects your investment and adds confidence that the system will perform as designed. Your contractor coordinates any corrections promptly.
Step 12: Homeowner Orientation
At turnover, the crew walks you through thermostat use, filter changes, condensate line care, and what to watch for seasonally. You’ll learn when to schedule routine maintenance and how to keep the outdoor coil clear of debris. It’s smart to set a reminder for filter checks during peak cooling months and to inspect the drain line before summer starts.
Quality Indicators to Look For
- Load calculations and duct design provided up front.
- Clean, organized refrigerant lines with UV-rated insulation.
- Properly trapped and sloped condensate drains with safety switches.
- Documented commissioning data and photographs.
- Quiet operation and balanced airflow in occupied rooms.
- Permits and HERS verification handled without delays.
Special Malibu Considerations
Coastal air accelerates corrosion, so coastal-rated condensers and protective coatings are wise investments. Position equipment to minimize exposure to salt spray and high winds while preserving views and outdoor living. Noise matters in serene neighborhoods; variable-speed units, sound blankets, and thoughtful placement help keep peace. For hillside homes, plan safe access for service and consider seismic strapping or additional anchoring as required by code.
Maintenance Starts on Day One
Installation quality sets the stage, but upkeep sustains performance. Change filters on schedule, rinse outdoor coils to reduce salt buildup, keep vegetation trimmed back, and schedule professional tune-ups. Monitoring smart thermostat data can reveal trends such as longer runtimes or difficulty meeting set points, signaling it’s time for a checkup.
Common Pitfalls and How to Avoid Them
- Skipping permits or HERS testing, which can compromise safety and compliance.
- Installing oversized equipment that short cycles and fails to control humidity.
- Ignoring duct leakage and poor return placement, leading to hot and cold spots.
- Placing the condenser in tight alcoves that recycle hot air.
- Overlooking condensate safety devices, risking water damage.
Working with a Trusted Team
Clear communication and thorough documentation separate excellent installations from average ones. Expect your contractor to answer questions, set timelines, protect your home, and demonstrate the system before leaving. If you want a partner who can manage permits, testing, and commissioning with coastal best practices, consider a company experienced in Malibu and familiar with air conditioning installation from design through verification.
Frequently Asked Questions
Q: How long does a typical installation take?
A: Most single-system installations take one to three days depending on ductwork scope, controls, and access. Complex homes or multi-zone systems may require additional time for testing and balancing.
Q: Do I need a permit for replacing an old air conditioner?
A: In most cases, yes. Permits ensure safety, energy code compliance, and proper documentation. Your contractor typically handles the process and schedules inspections.
Q: What tests confirm a quality installation?
A: Commissioning data such as static pressure, airflow, temperature split, and refrigerant readings are key. For many projects, HERS testing verifies duct leakage and proper charge.
Q: Is a heat pump suitable for Malibu?
A: Absolutely. Malibu’s mild winters are ideal for heat pumps, which provide efficient cooling and comfortable heating with modern variable-speed technology.
Q: How can I reduce noise?
A: Choose quiet, variable-speed equipment, place the condenser away from bedrooms and gathering spaces, use anti-vibration measures, and design ducts for smooth airflow.
Q: What should I do before installers arrive?
A: Clear pathways, secure pets, and identify parking or staging areas. If access is complex, share photos or details in advance so the crew can prepare the right equipment.
Q: Will my existing ducts work?
A: Many homes benefit from sealing and resizing certain runs. A duct assessment during design reveals whether your existing system can support the new equipment efficiently.
Confidently Navigate Your Installation
When each step is planned and verified, the result is a quiet, efficient system that handles Malibu’s changing conditions with ease. You get cooler rooms, better humidity control, and clean indoor air backed by documented performance.
Get Expert Help for a Smooth Experience
If you want a proven team to manage design, permitting, installation, and commissioning while protecting your home and schedule, reach out to schedule your air conditioning installation with professionals who understand Malibu’s coastal climate.