Introduction
If you live in Malibu, you know coastal beauty comes with unique indoor air challenges. Sea salt, damp marine layers, canyon dust, and occasional wildfire smoke can load your HVAC filter and settle in ducts. The following detailed steps will help you clean with confidence, protect your equipment, and keep your home feeling fresh. Whether you are a hands-on homeowner or planning to hire help, this guide will show you what to do, what to avoid, and how to adjust for Malibu’s climate. For extra guidance as you compare your plan with established best practices, refer to a reputable source on air duct cleaning while you work.
Success comes from methodical preparation, gentle techniques, and steady follow-through. When paired with strong filtration and moisture control, these steps can noticeably improve comfort and cleanliness in every season.
Step 1: Safety and Setup
Turn off the HVAC system at the thermostat and, if necessary, the electrical disconnect. Lay drop cloths or plastic sheeting around registers and returns. Put on a respirator, safety glasses, and gloves. Gather a HEPA vacuum with a long hose, soft brush attachments, microfiber cloths, extendable brush rods, screwdrivers, a flashlight, and a correctly sized replacement filter. Open windows slightly if outdoor air quality is good to vent dust safely as you work.
Step 2: Remove and Clean Grilles
Unscrew supply registers and return grilles. Wash metal grilles in warm soapy water, rinse, and dry thoroughly to protect against corrosion. Wipe wood or specialty finishes with a damp microfiber cloth. Cleaning grilles first prevents loose debris from re-entering the ducts after you complete the interior work.
Step 3: Vacuum the Openings
Use the HEPA hose to vacuum just inside each opening. Gently brush the edges of the duct and immediately vacuum the loosened dust. Proceed methodically room by room so you do not miss any vents. This step reduces the likelihood that dust will blow out when the system restarts.
Step 4: Clean Straight Duct Runs
Insert the vacuum hose into accessible ducts and work slowly. Attach extendable, soft-bristle brush rods to gently agitate the interior and dislodge adhered residues. Avoid aggressive force that could tear flex ducts or separate joints. In Malibu, salt tackiness may make dust cling more readily to surfaces, so patience and repetition matter.
Step 5: Give Returns Extra Time
Returns gather more dust than supply lines. Move slowly along the bottom and corners of the return ducts, where debris tends to settle. If you recently had a renovation or experienced a smoke event, consider an extra pass to ensure fine particles do not continue to circulate.
Step 6: Access Branches and Junctions
Where accessible, vacuum and lightly brush junctions where branch lines meet the main trunk. These junctions can collect pockets of dust, particularly after drywall work or sanding projects. Do not force tools into tight bends.
Step 7: Blower Compartment Cleaning
If permitted by your system’s service and your comfort level, remove the blower access panel. Carefully vacuum around the blower housing and wipe reachable surfaces with a slightly damp microfiber cloth. Avoid wires and electronics. Keep moisture to a minimum and allow full drying before reassembling.
Step 8: Evaporator Coil Attention
The evaporator coil is a critical component for cooling and dehumidification. If accessible, use a soft brush attachment to loosen dust and apply a coil-safe cleaner when needed. Follow label directions and never saturate the coil. Complete drying is essential to prevent musty smells when the system restarts.
Step 9: Main Trunk and Plenum
Vacuum the accessible portions of the main trunk and plenum. Take care not to disturb mastic or tape seals. If you see gaps or damaged insulation, note them for future sealing and repair to boost efficiency and reduce dust infiltration.
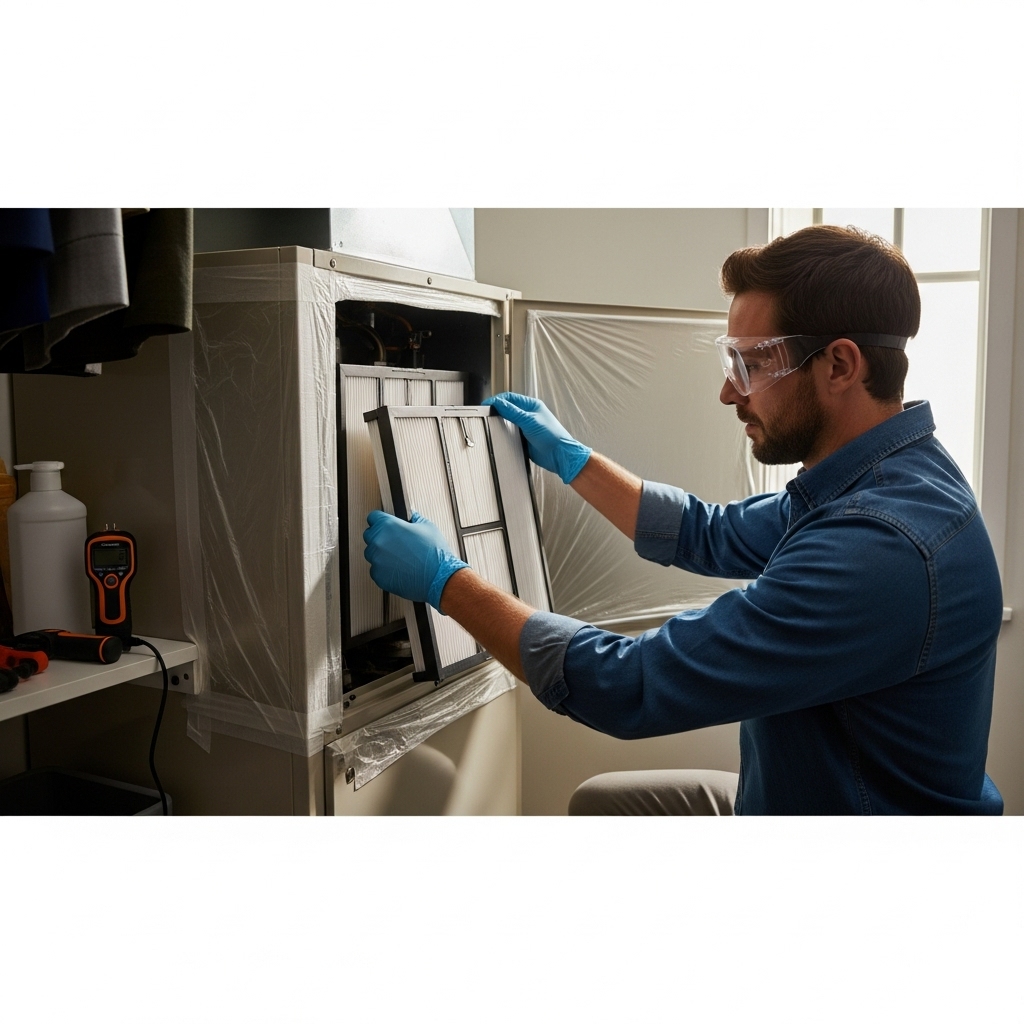
Step 10: Replace the Filter
Install a fresh filter with the correct size and MERV rating your blower can handle. Higher-efficiency filters (MERV 11–13, when compatible) capture finer particles common to Malibu’s environment, including smoke residues.
Step 11: Reassemble and Test
Once grilles are completely dry, reattach them. Power on the HVAC system and let it run for 10–15 minutes. Check each room for steady airflow and listen for unusual noises. Note any rooms that feel stuffy or warm and make sure furniture is not blocking supplies or returns.
Step 12: Post-Clean Verification
Shine a flashlight into several ducts and take after-photos to compare with your before images. You should see visibly reduced dust and cleaner edges around openings. Record the date and steps taken in a maintenance log so you can track improvements and schedule future tasks.
Malibu Climate Adjustments
- Humidity Control: Use bath fans and consider a dehumidifier during damp spells to prevent musty odors.
- Salt Awareness: Dry metal grilles thoroughly after washing and inspect periodically for corrosion.
- Smoke Response: After smoke events, adopt a rapid filter-change schedule and perform a light duct refresh.
- Windy Days: Inspect grilles after strong winds and vacuum the first foot inside openings.
Helpful Habits Between Cleanings
- Wipe and vacuum registers monthly, or more often if you have pets.
- Check filters monthly and change when they show loading.
- Keep returns unblocked and ensure doors undercut allow air to flow back to the system.
- Consider duct sealing and insulation improvements for comfort and efficiency.
DIY or Hire a Pro?
These steps deliver meaningful results, but some systems have complex layouts, long horizontal runs, or tight elbows that are difficult to reach. Professionals use negative-pressure vacuums, specialized brushes, and verification tools to go deeper, faster, and more safely. If you want to compare your plan with expert protocols, look at established practices for professional air duct cleaning and ask providers how they handle containment, filtration, agitation, and post-clean checks.
FAQ
Q: How often should I perform these steps? A: Inspect annually and clean as needed. Increase attention after smoke, renovations, or unusually humid periods.
Q: Can I spray disinfectants into ducts? A: Avoid harsh chemicals and unnecessary fragrances. Focus on mechanical cleaning, coil-safe products, and keeping ducts dry.
Q: Why do odors return after cleaning? A: Odors often signal lingering moisture or residues. Re-check humidity control, coil drainage, and filter performance.
Q: Will this process improve efficiency? A: It can support efficiency by reducing airflow restrictions and keeping coils cleaner. Sealing and insulating ducts further improve performance.
Q: What if I find mold? A: Address moisture first and seek qualified evaluation and remediation guidance when necessary. Prevent recurrence with dehumidification and prompt repairs.
Breathe Easier in Your Malibu Home
When you want deeper reach, verified results, or post-event cleanup, schedule a reputable air duct cleaning service. With consistent steps and the right support, your Malibu home can enjoy cleaner air, smoother airflow, and lasting comfort all year long.